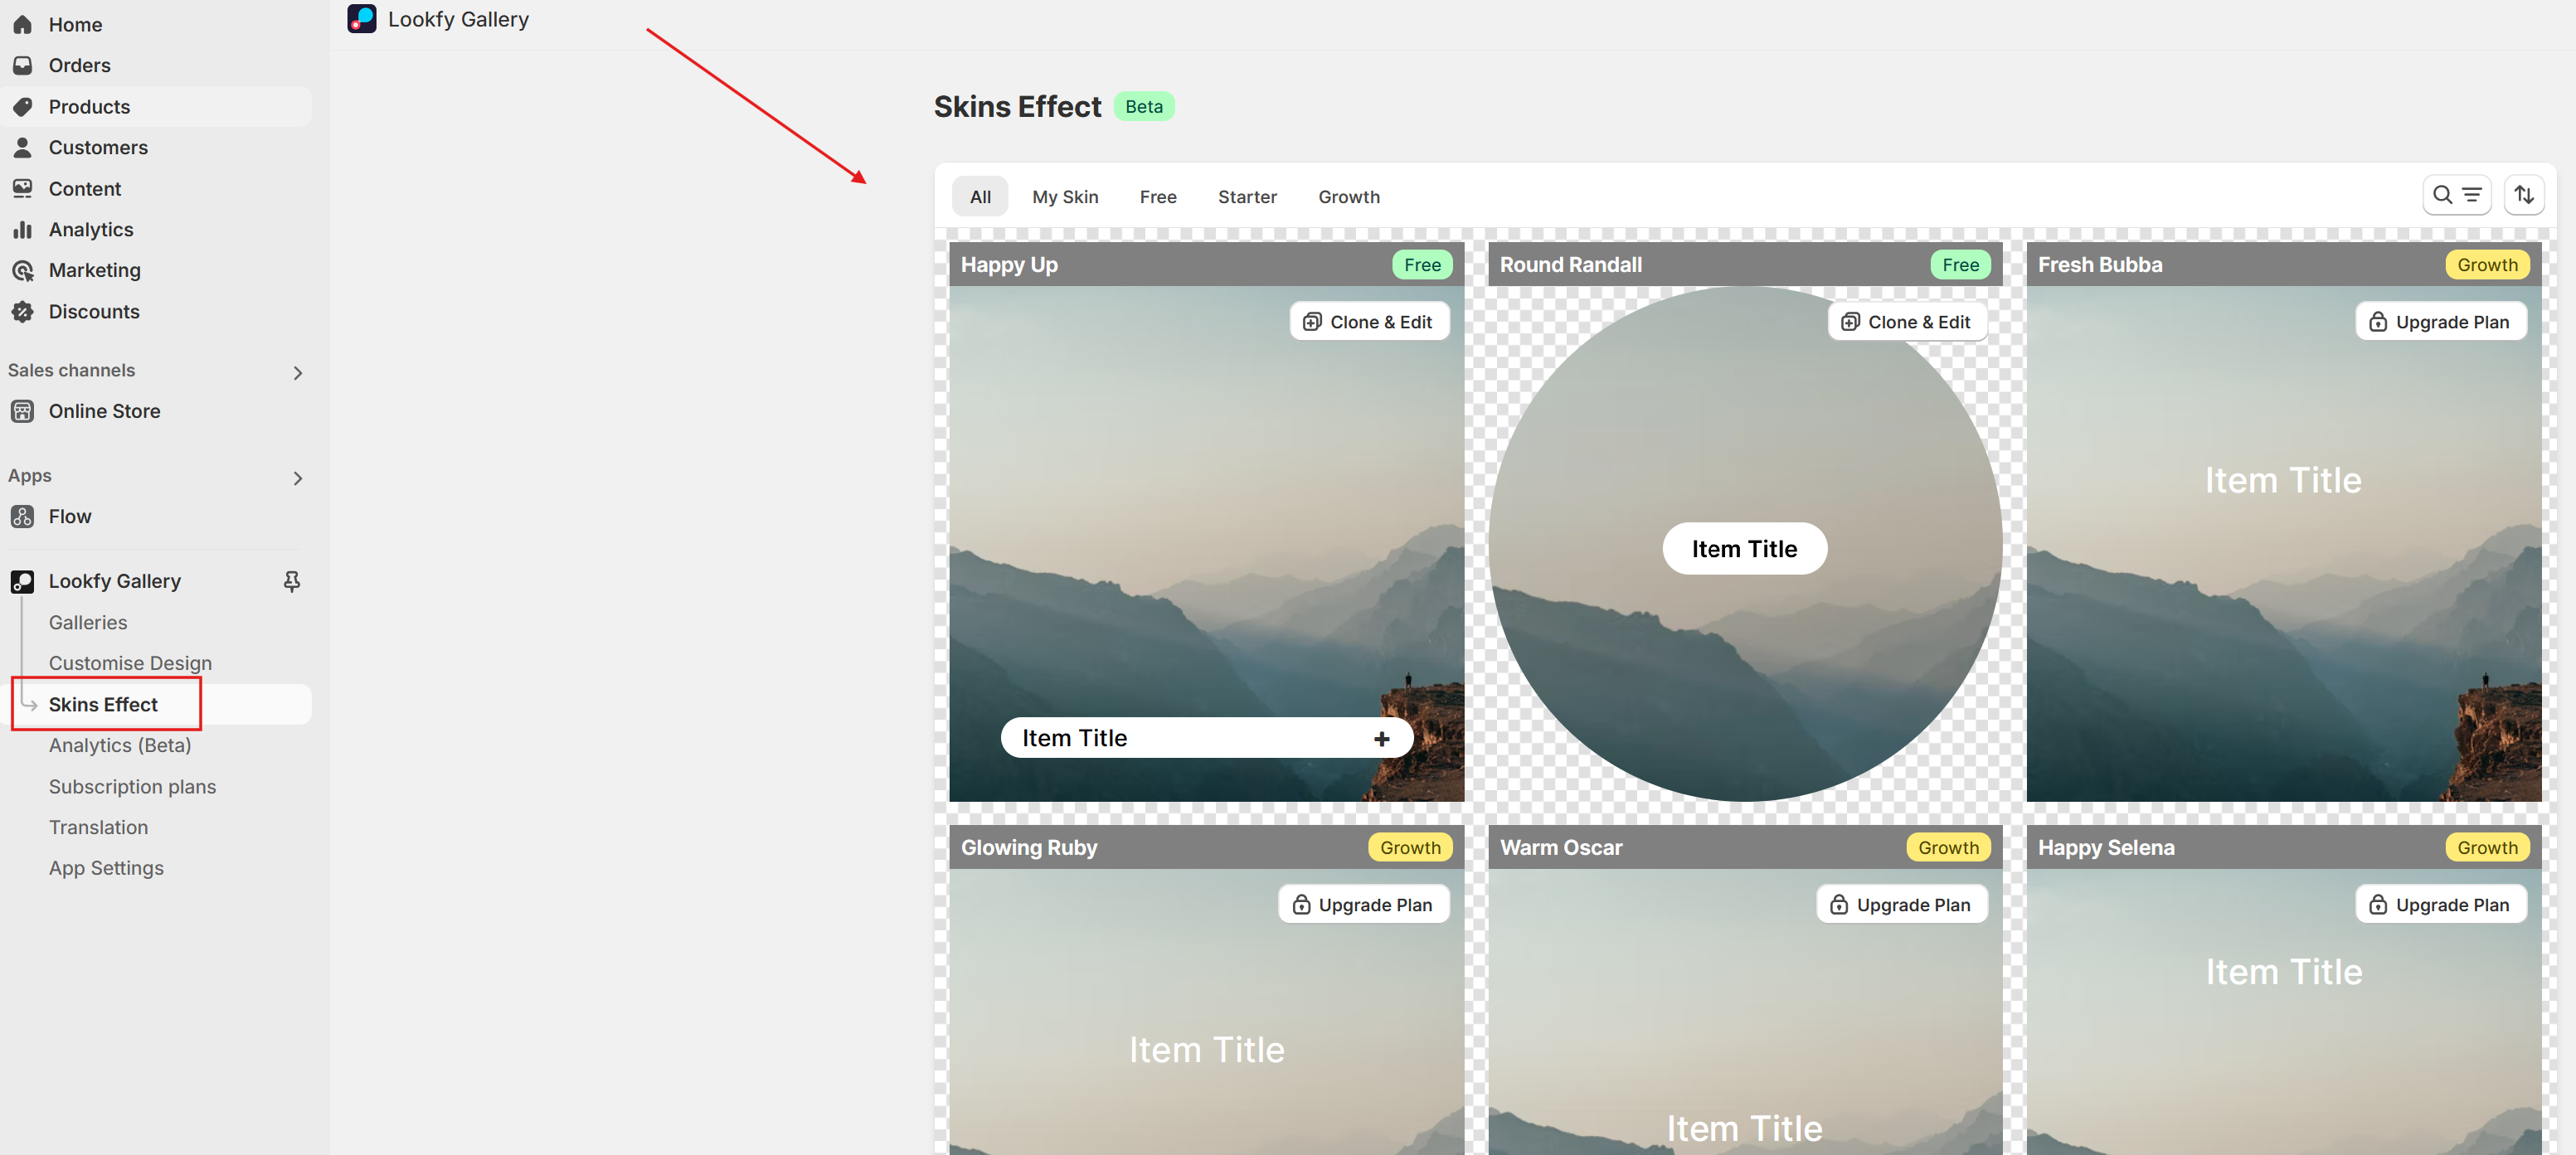
Go to Lookfy Gallery → Skins Effect to explore the skins available for your gallery.
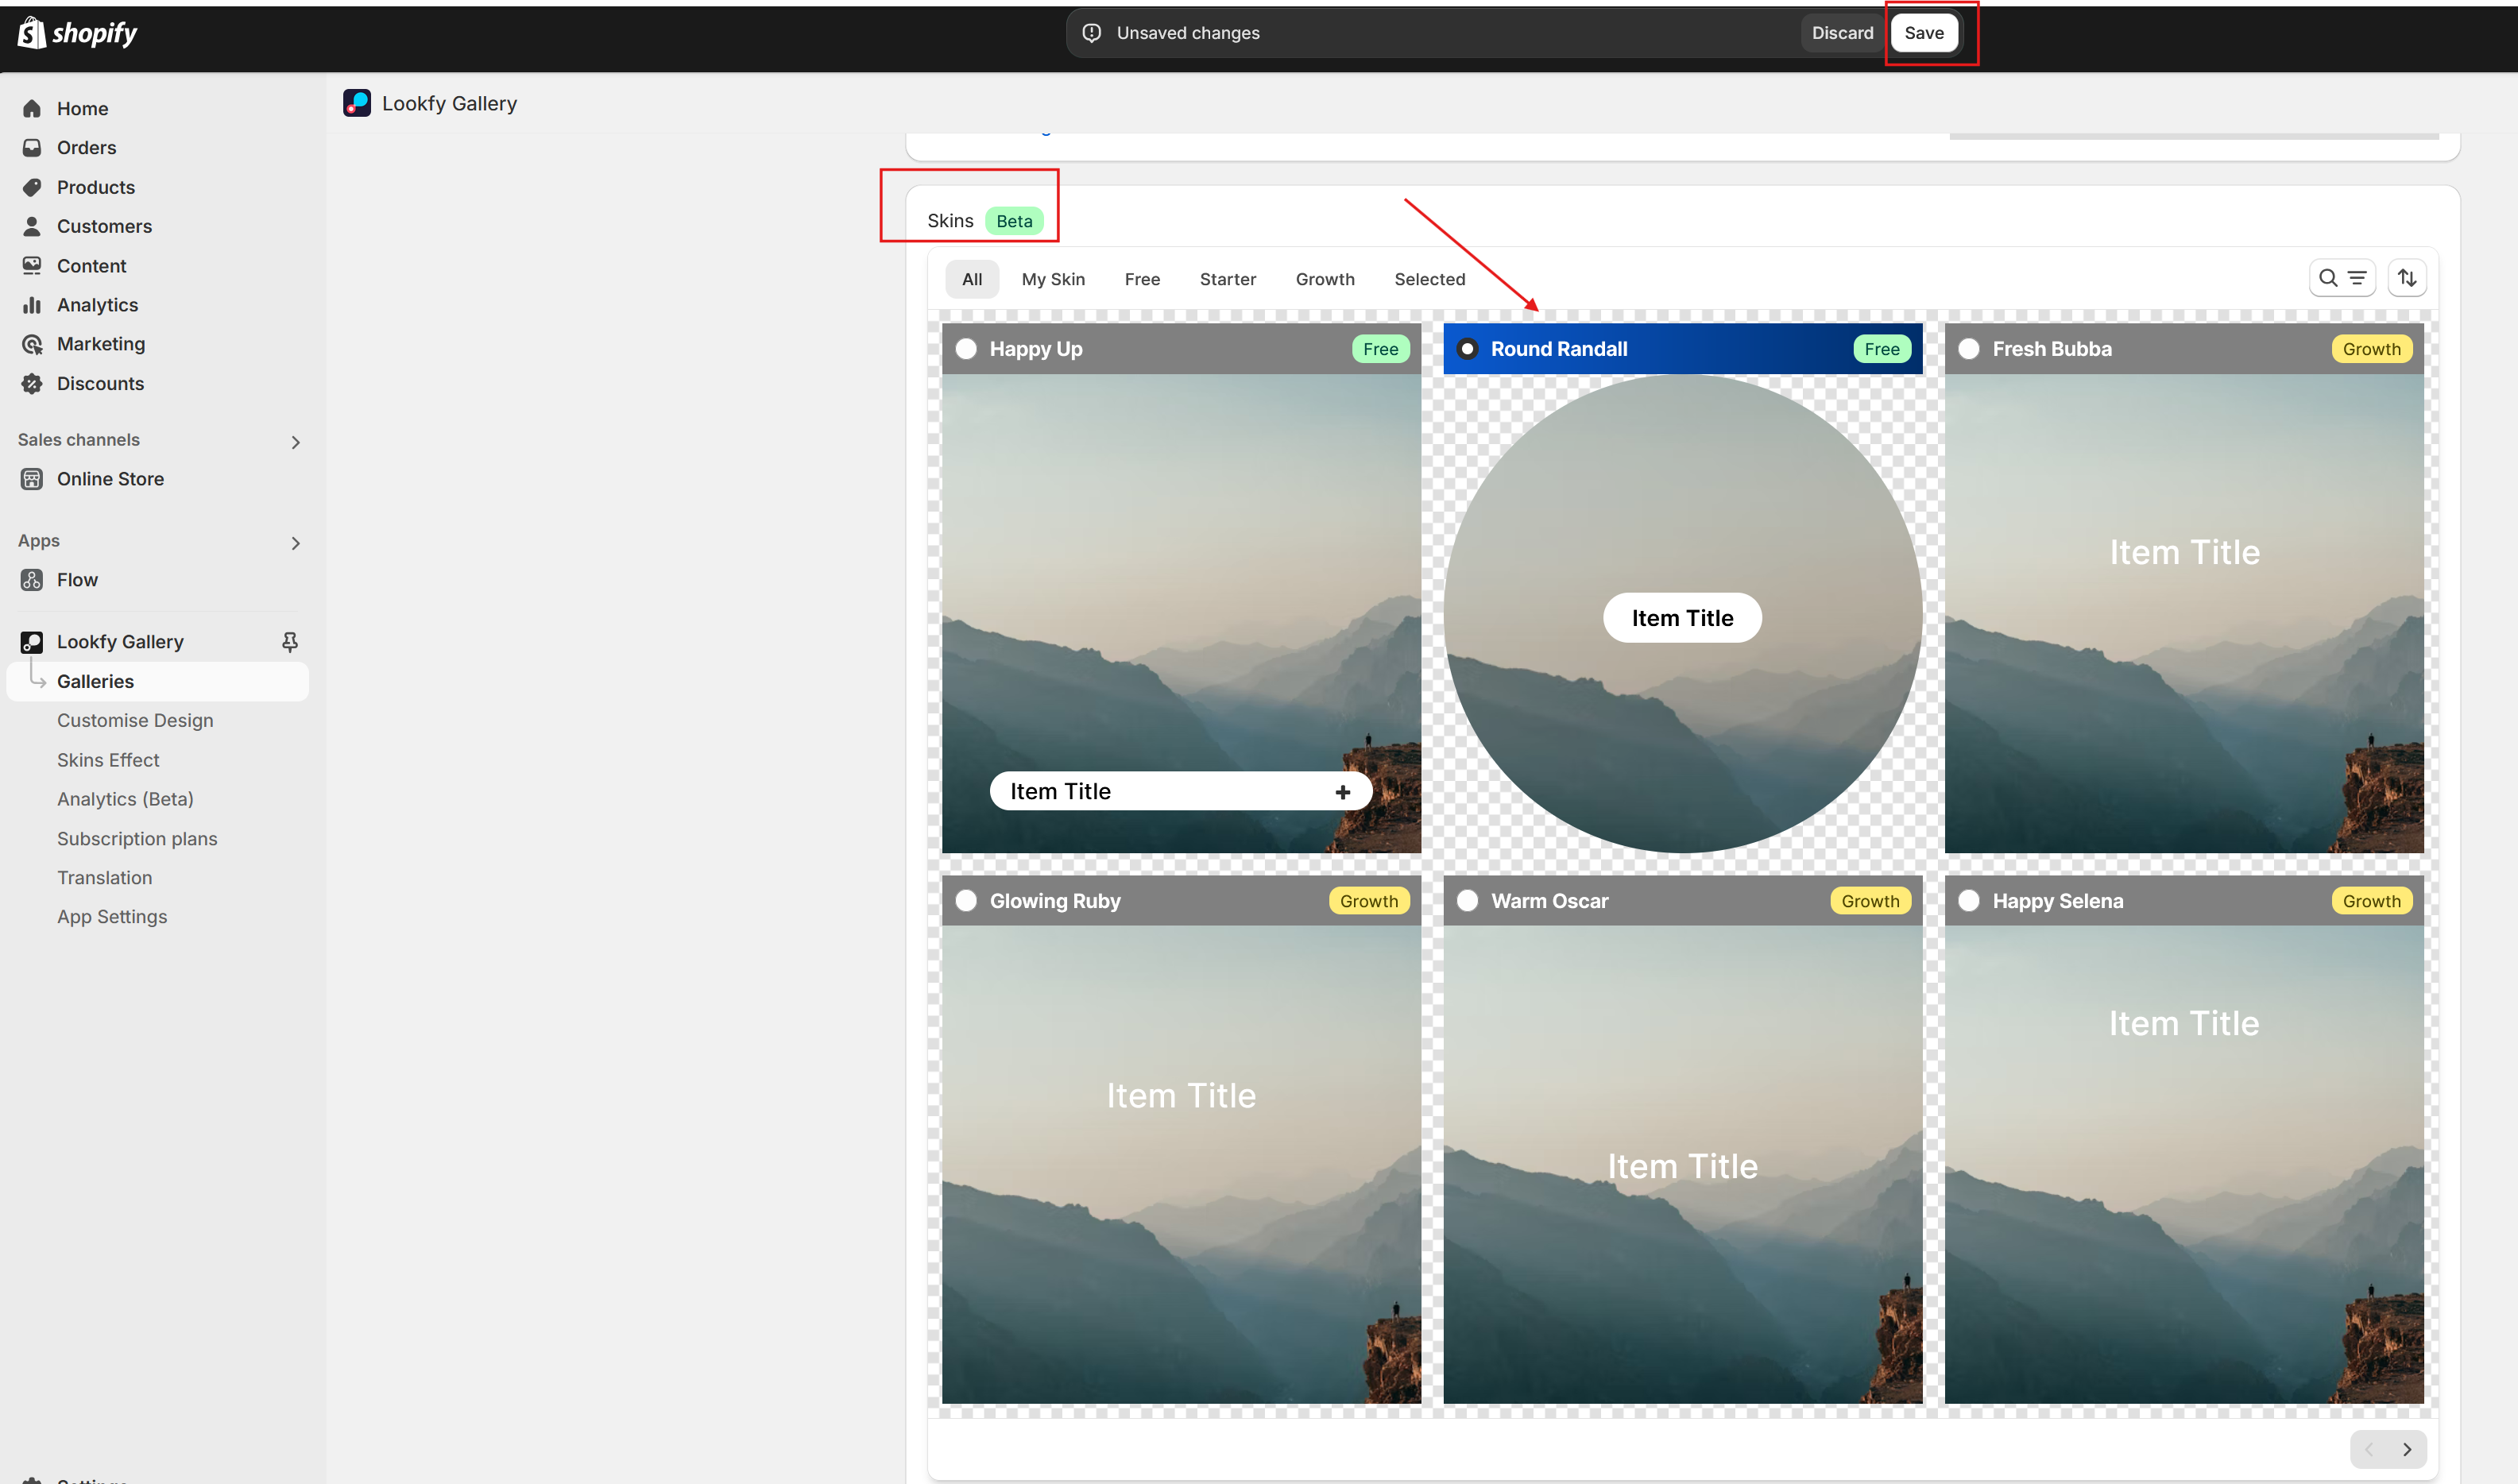
- Go to Galleries, click on the gallery you want to edit.
- Scroll down to Skins and select the skin you prefer by clicking on it.
- Click the button Save at the top to save the change.
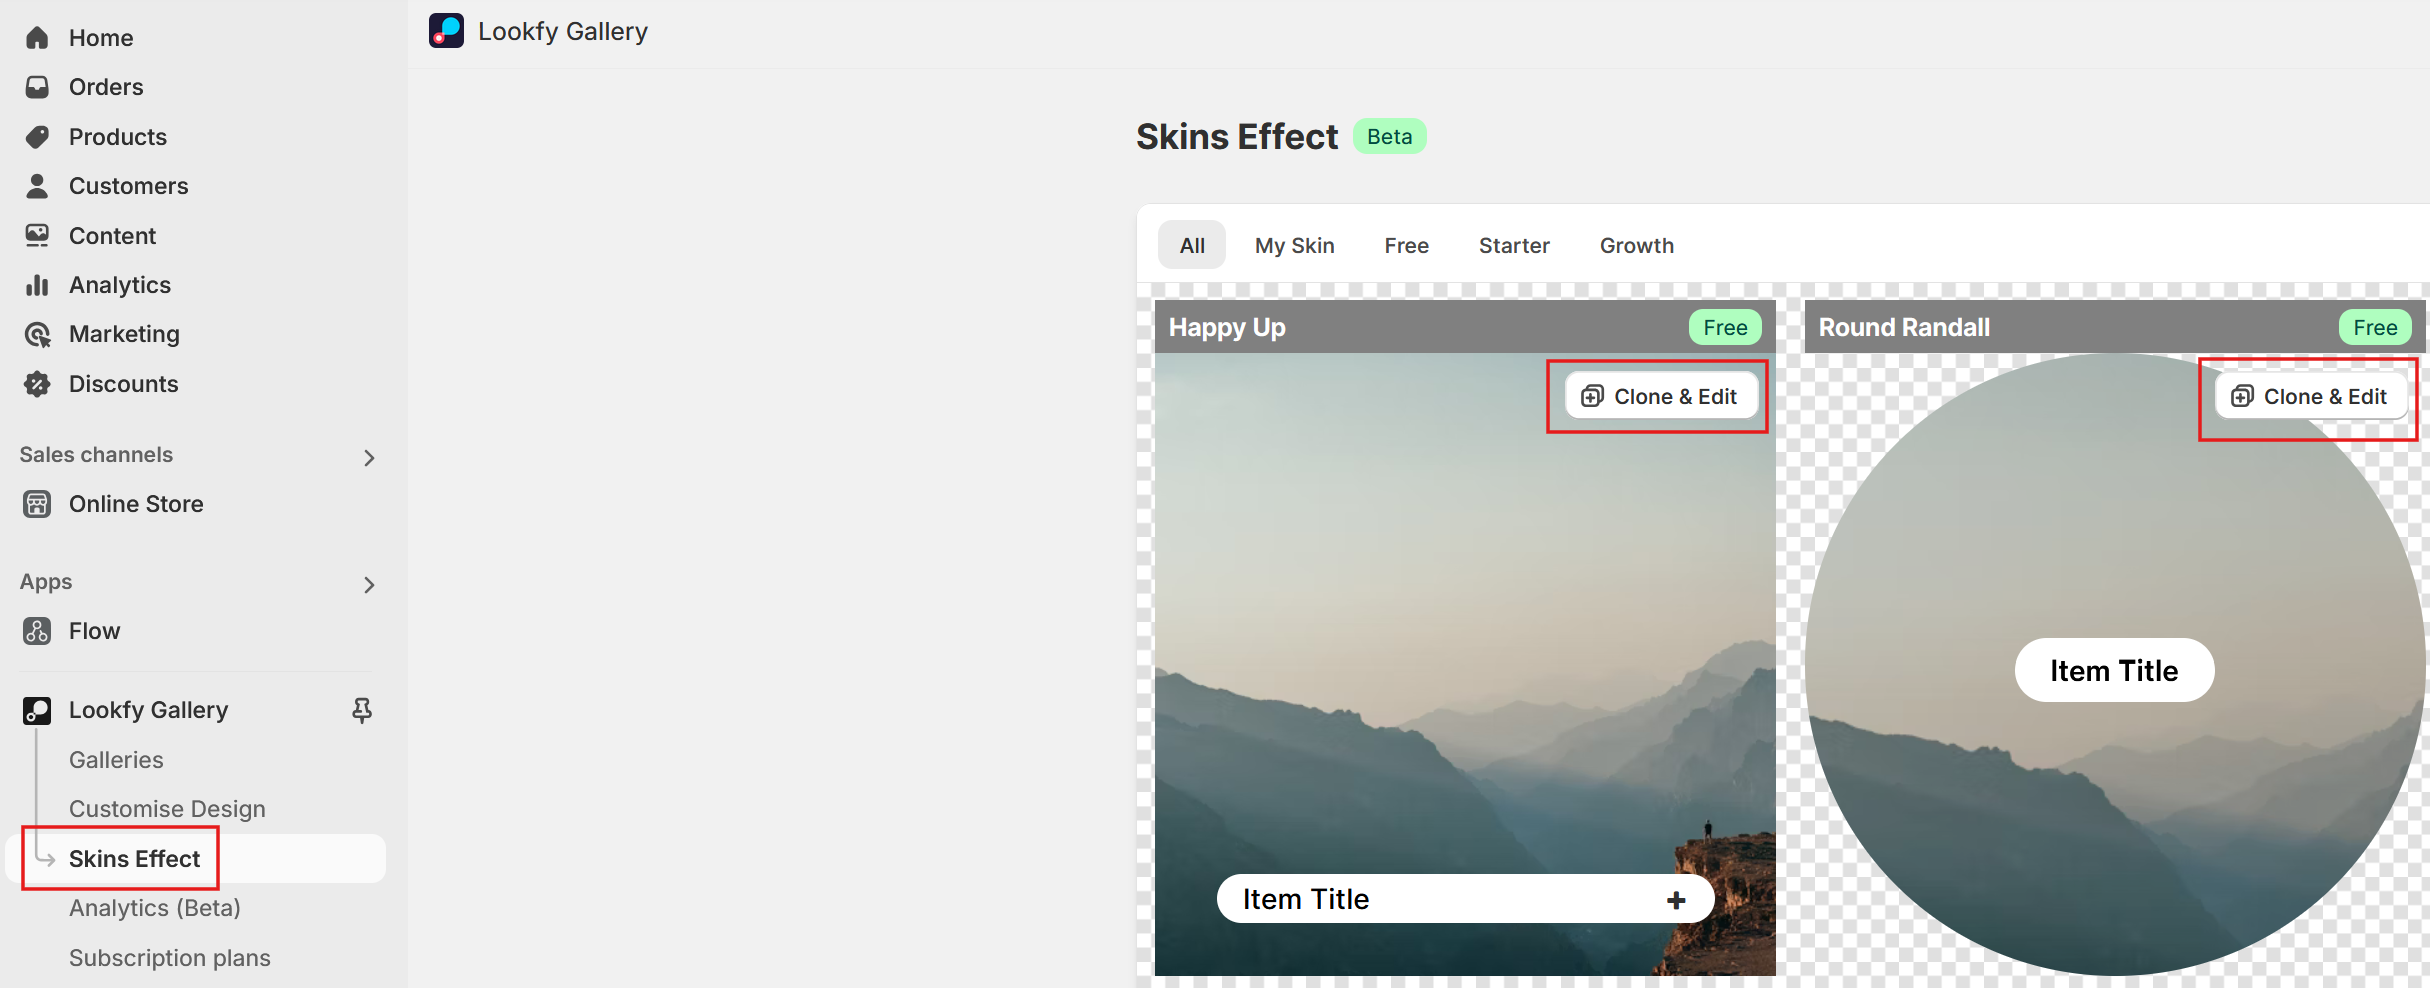
If you do not like any of the pre-built skins, you can create your own skin to personalize the appearance of item in your gallery.
To create your own skin, you must clone one of the available skins. Click on Skins Effect, then click on Clone & Edit button.
- General
After cloning the skin, it will redirect you to the skin edit page.
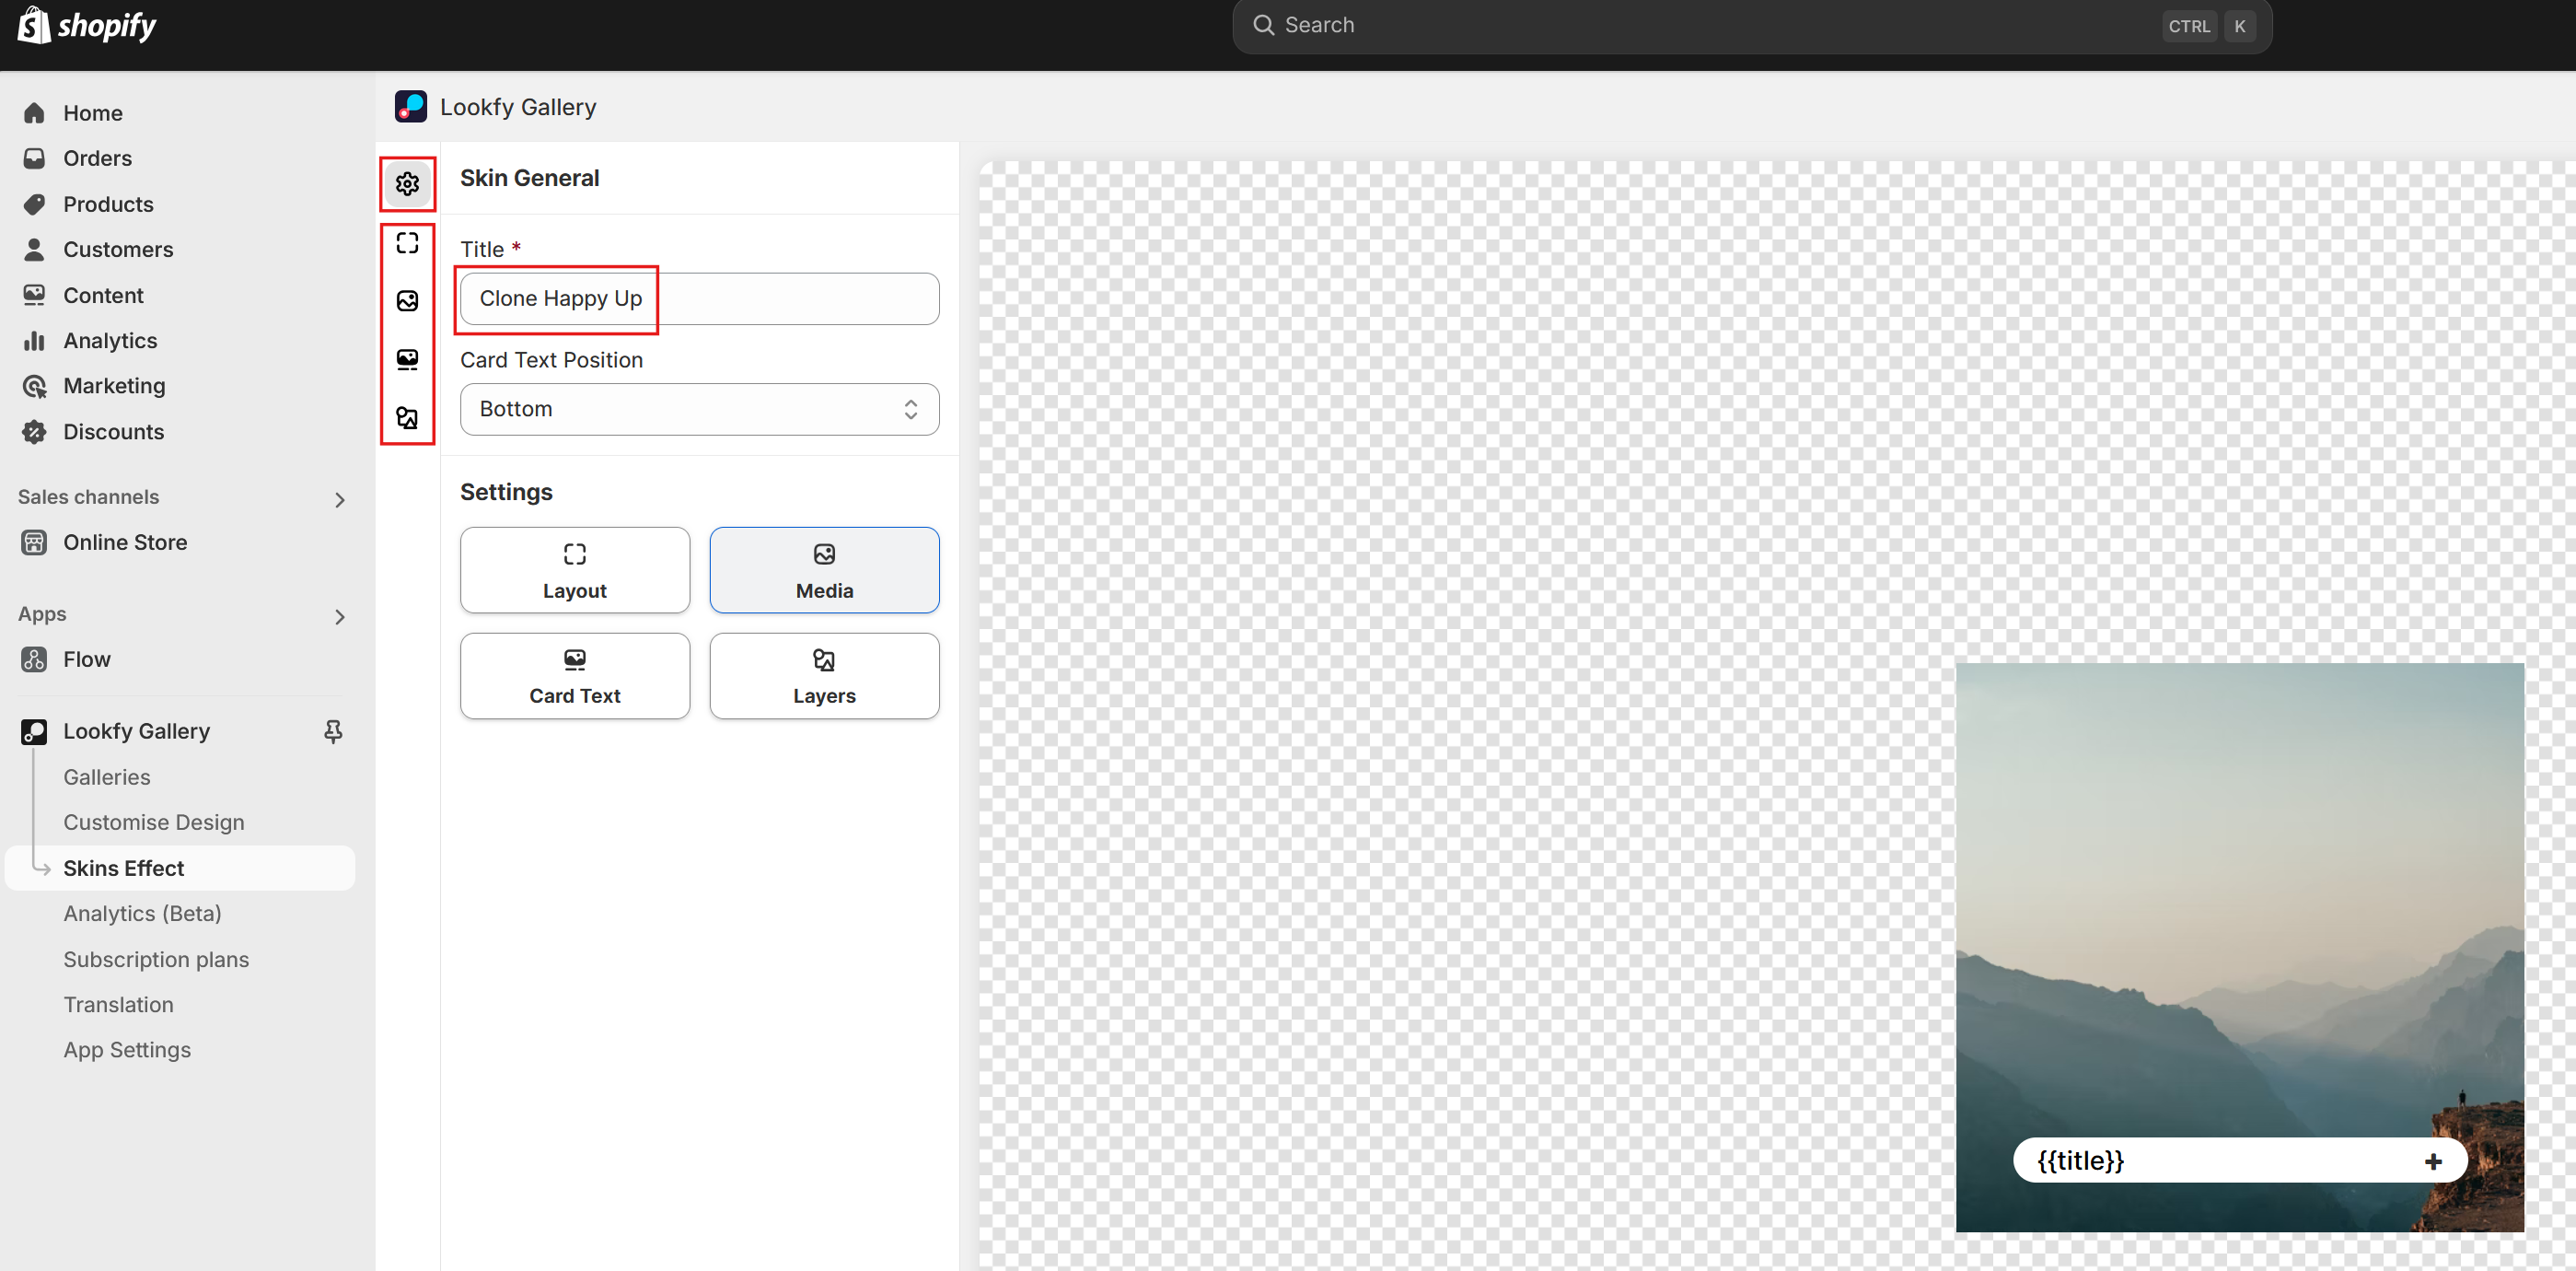
At Skin General, you can change the skin title and choose the position of card text.
For more advanced customizations, you can click on one of four icons below the Gear icon:
Skin layout: it helps you to customize the layout of item.
Skin media: you can customize the way that images or videos are presented in item.
Skin card: the options for design of card text here.
Layers: you can add layers to diversify the displayed parts beside the main image. The layers can be text or shape, lie on the main image (overlay) or sit above/below it (card).
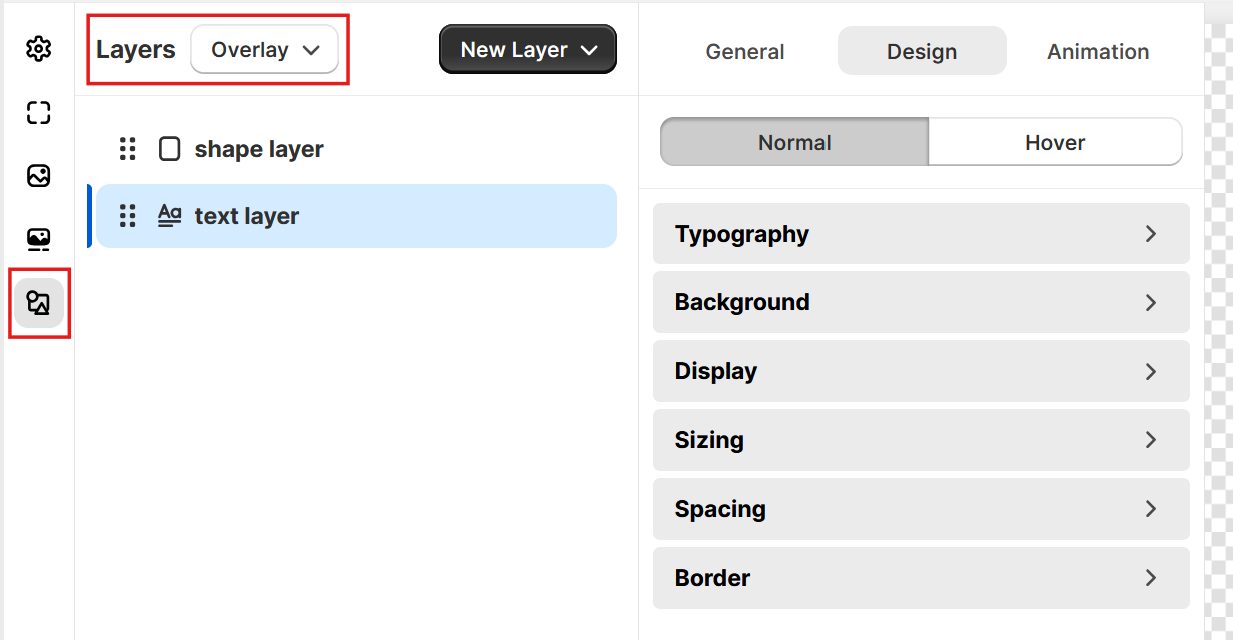
- Customize typography for a text layer in your skin
At Layers select Card or Overlay in the dropdown, then click on the text layer that you want to change, then click Design → Typography to change the color, font family, font size,… for text in that layer.
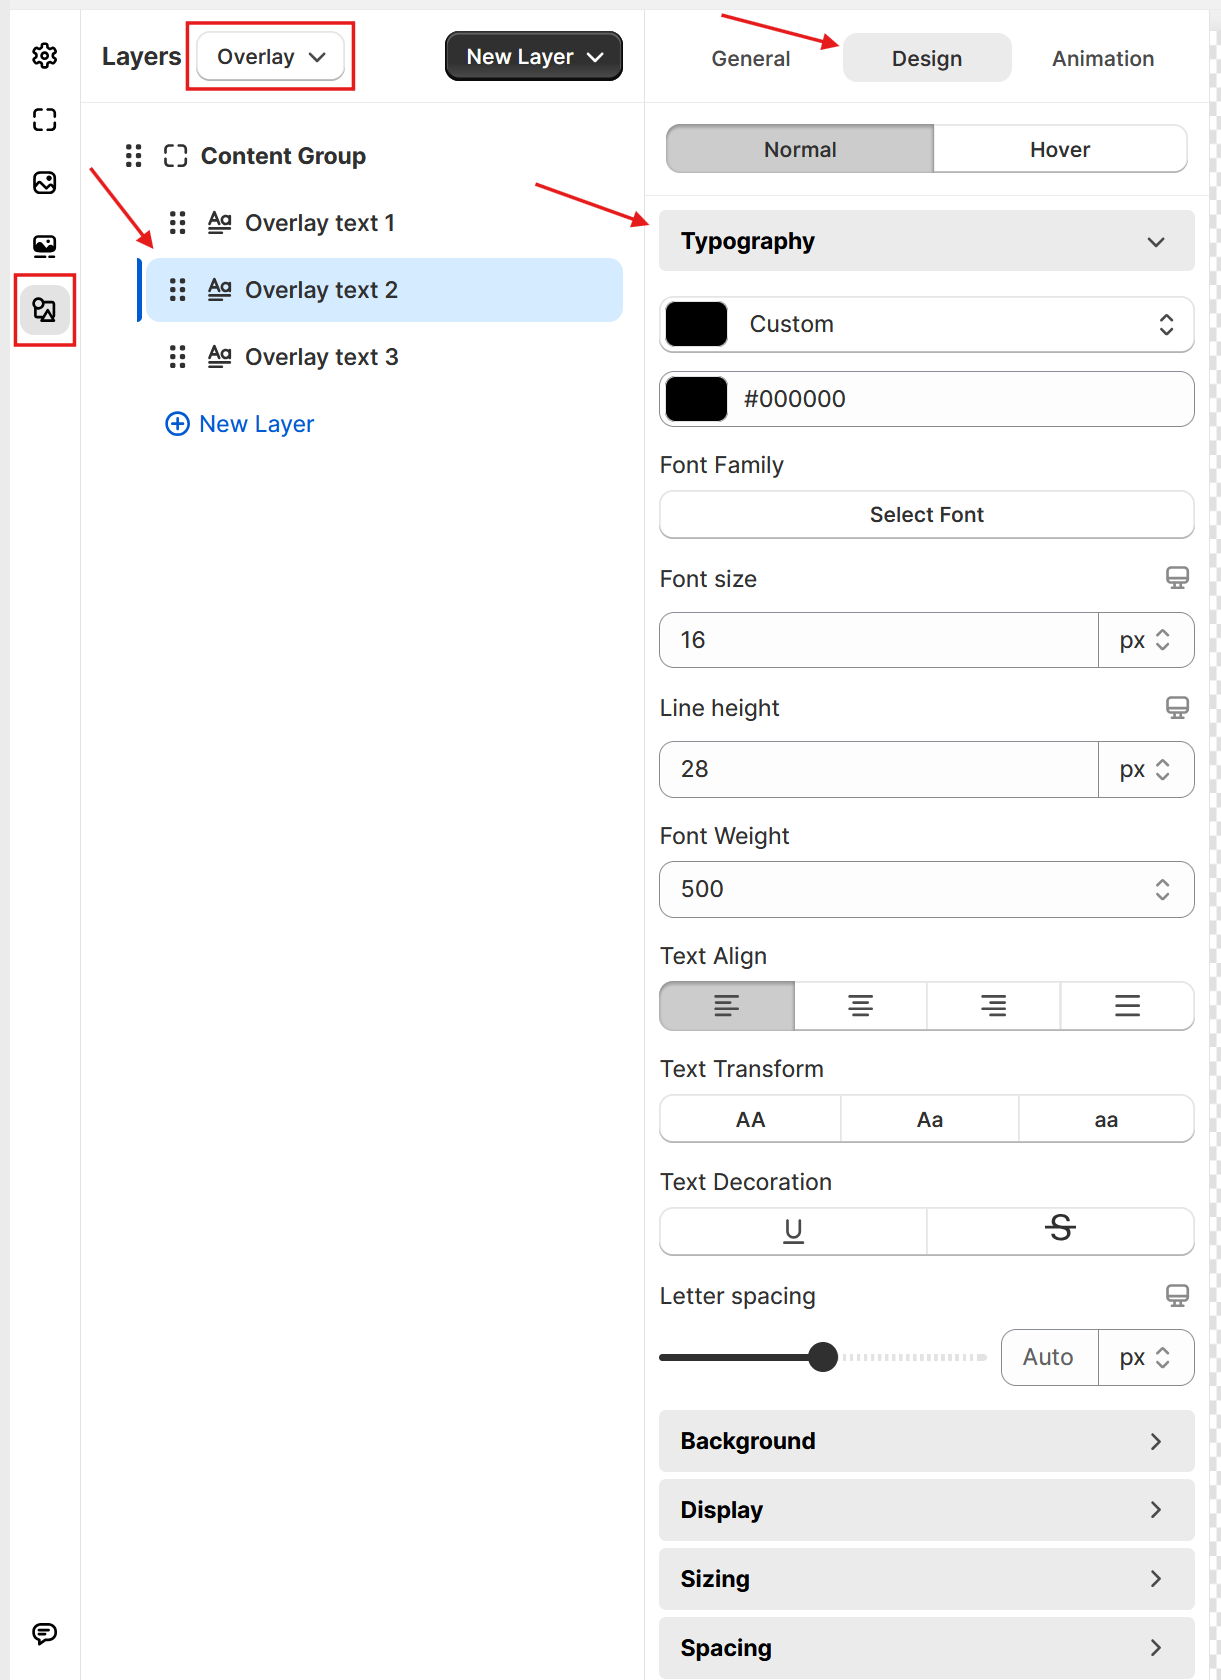
- How to put item title, item description into a text layer
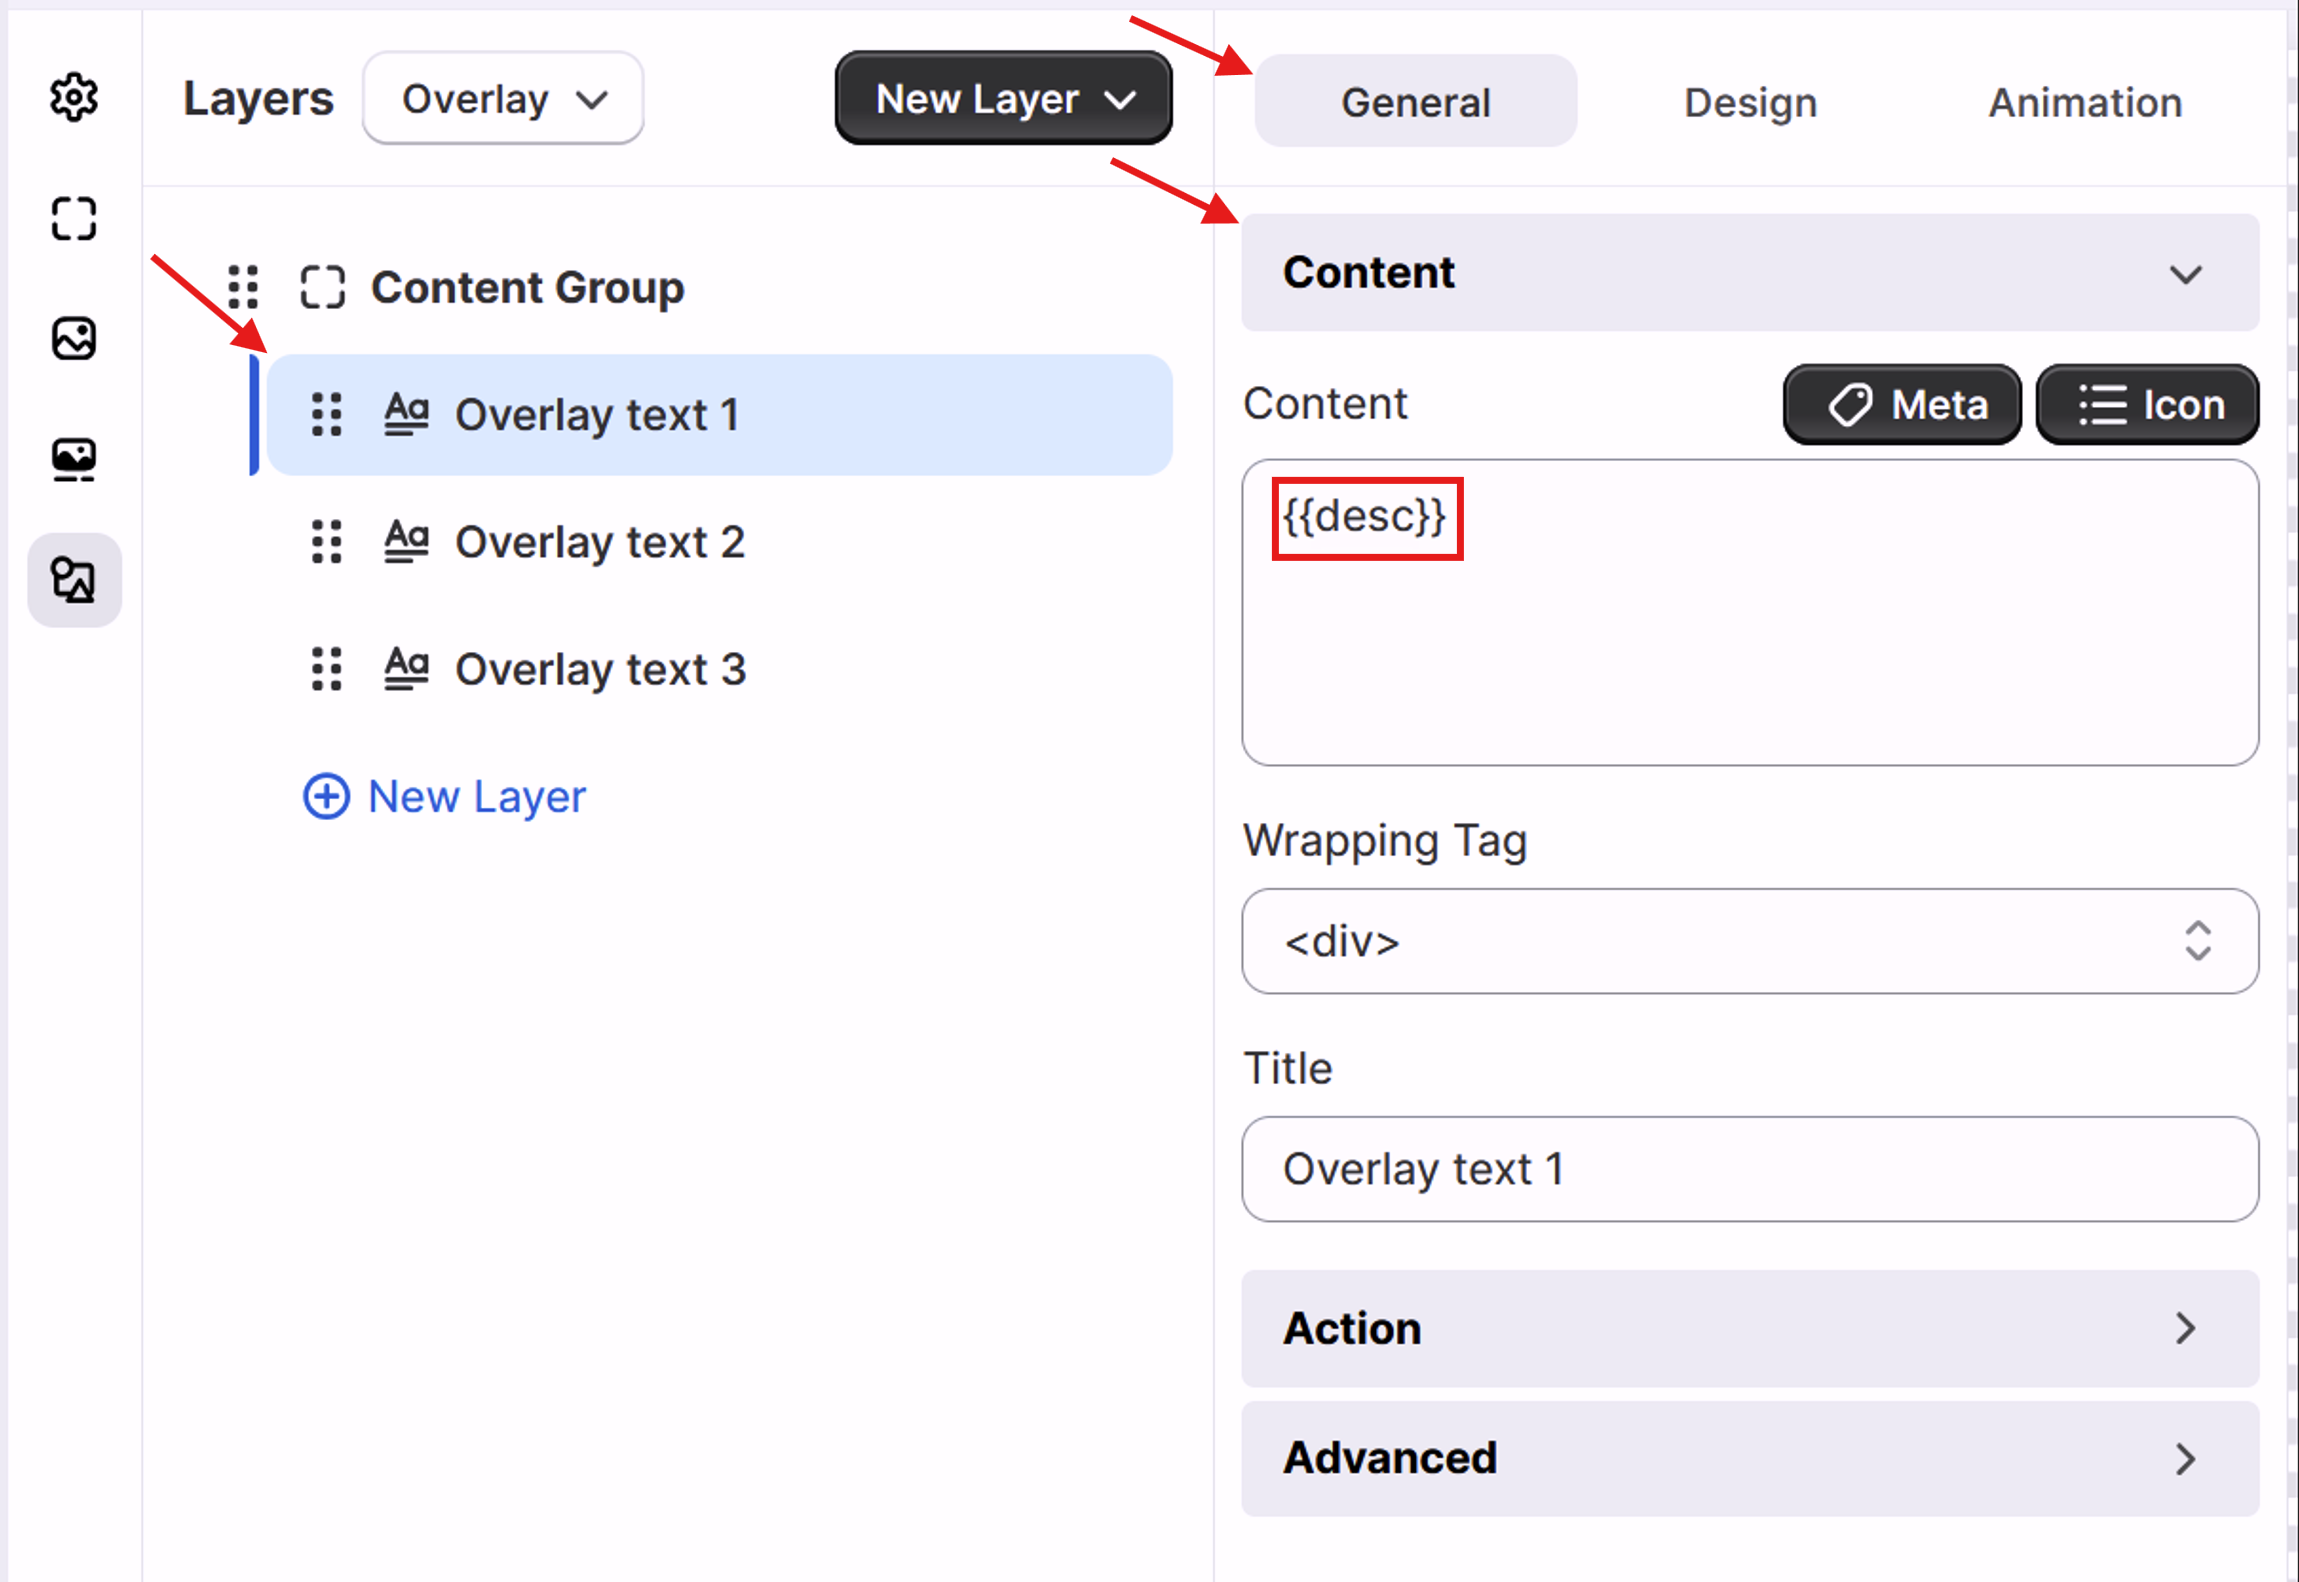
At Layers select Card or Overlay in the dropdown, then click on the text layer that you want to put title/description into, then click General → Content.
In the Content box, add code {{title}} to put the title or add code {{desc}} to put the description into.
After you complete the customizations for your own skin, please remember to click the button Save at the top to save the changes.
Now you can apply this skin to your gallery!
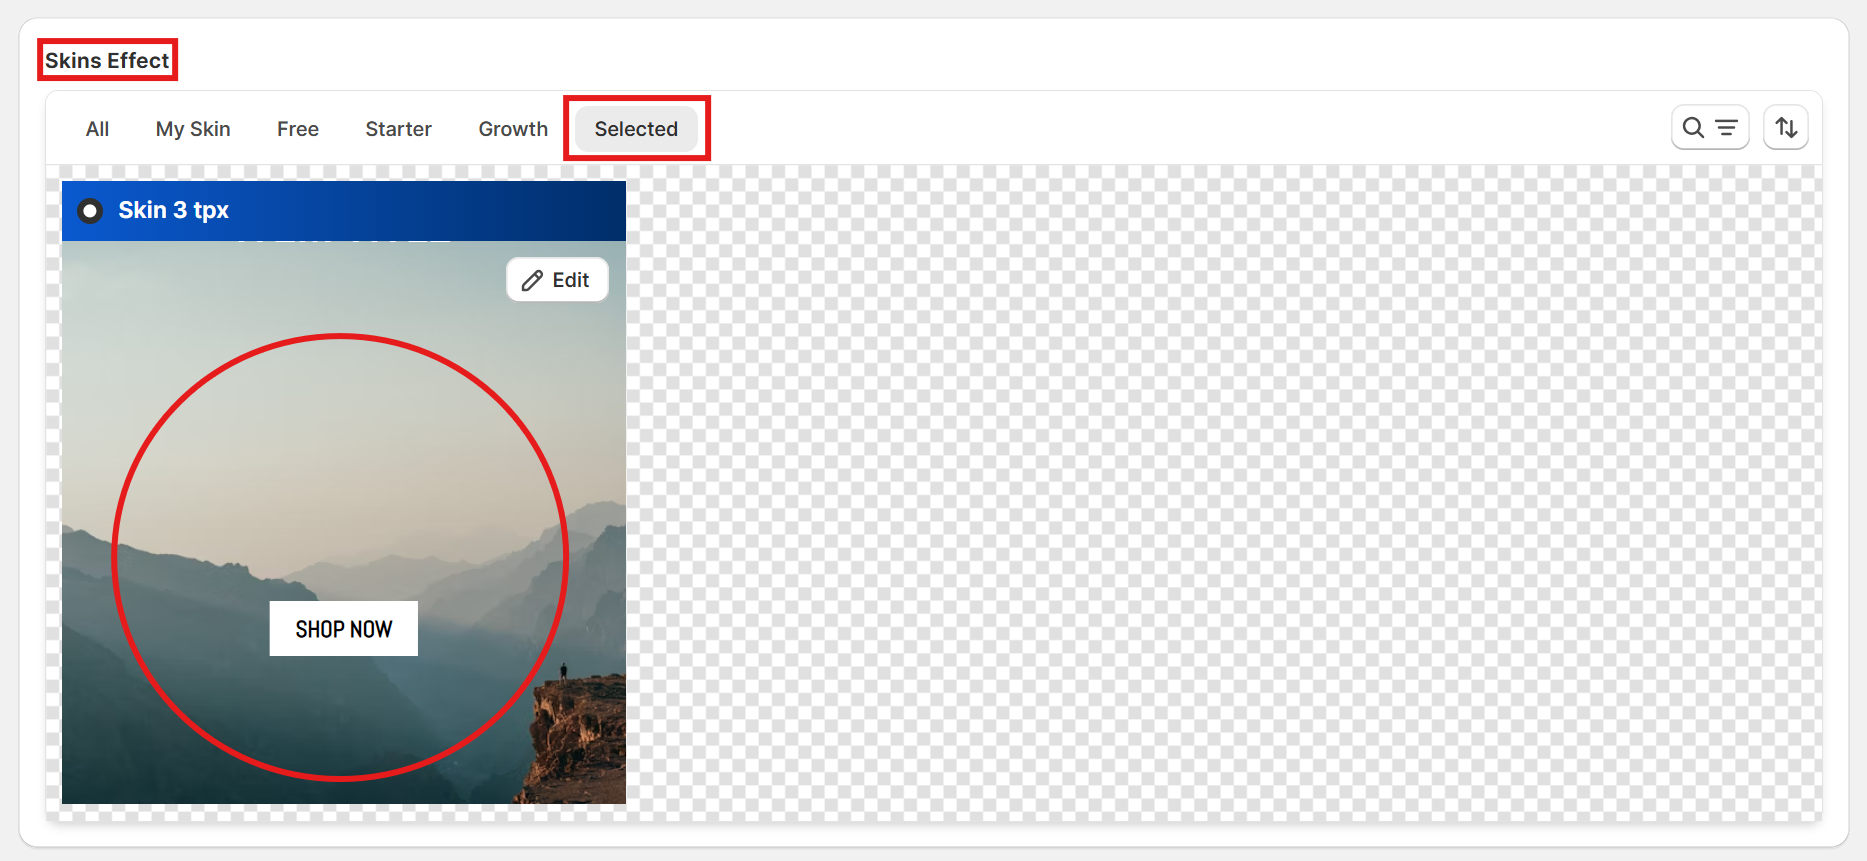
To disable the selected skin effect for a gallery, you just need to scroll down to Skins Effect, click Selected tab, then click on the selected skin and save the change.
